STEP-BY-STEP INSTRUCTIONS FOR CAR AUDIO INSTALLATION AT TOP EDGE
Car Audio Installation
There are several reasons why you would want a car audio installation. For starters, your old car stereo might just not cut it for you anymore or you want that new car stereo look and sound. Whatever the reason, it’s good to know you can perform a car audio installation yourself. There are a few long steps but with this practical guide and tips, you can get it done.
Tips to begin.
When changing any part of a car, it’s necessary to remember that all cars are different and new parts are too. Hence before installing a new car stereo, be sure to read the manufacturer’s instructions.
Next, set the parking brake and remove the negative cable from the car battery. This is a vital precaution to prevent short-circuiting the car’s electrical system which could harm you and start a fire.
Tools you need
There is nothing complicated about the set of tools you need for this car stereo installation. You would need some screwdrivers, wrench or socket set, wire strippers, electrical tape, and a panel remover tool.
The steps
- Remove the old stereo
Unscrew any screws or bolts holding the old car stereo in. Do this carefully. Then, pry the plastic trim off gently. If the trim of your car stereo is in bits and pieces work patiently and remove them. The factory car stereo will be mounted in one of the following ways, bolted to the dash with brackets, secured by spring clips, or mounted to a rail system within the dash.
If yours is mounted with spring clips, use DIN tools to remove the spring clips. For the stereo bolted in place, removing the trim would make the screws that bolt the stereo in place visible. If your stereo is attached to a rail system, you can slide it off the rail after removing bolts or spring clips.
- Unplug the factory car stereo
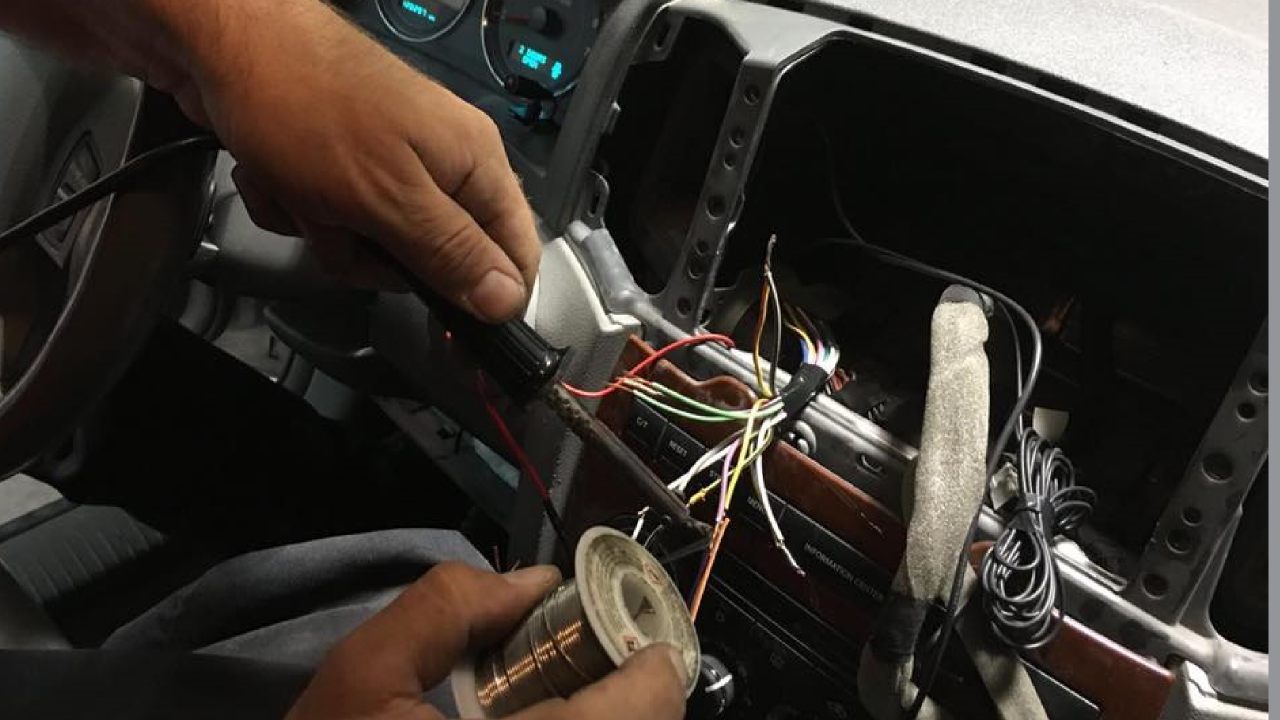
Gently pull out the radio and you will find a bunch of wiring behind. Take a picture of this with your phone for reference purposes. Disconnect the wires by first unplugging the antenna wire, and then the wire harness connectors. With this done, it’s time for your new car audio installation.
- Car audio installation
This is where that picture comes in handy. Match the wires of the new car stereo’s harnesses to those of the car harnesses. If your car doesn’t use wire harnesses, then you will need to connect manually. To do this, use the wiring diagram that came with the new stereo. After connecting the wires, you can either crimp or solder. Crimping wires is faster, and it uses a crimp connector. Soldering is more durable, professional, and provides an efficient connection. When the harnesses or manual connections are done, connect every last single wire.
- Test and finish
Turn on the power to test your installing and ensure everything is working properly. After confirming turn off the power and slide the stereo in until you hear a click. Put all the screws back and restore the plastic trim. Try the stereo again.
When your car is more complex.
- Vehicles change every day and recent models tend to be more complex than others. If your car falls into this more complex category, there might be other steps to note. We have explained this below:
- If your car stereo is hooked into the vehicle’s ODB data bus, an aftermarket module will be required and it also needs to be programmed to that specific vehicle.
- If there is a factory backup camera, it needs to be hooked up and this usually requires a schematic diagram to wire into the correct factory wiring.
- Factory USB and Aux ports can be spliced and wired into your new car audio installation.
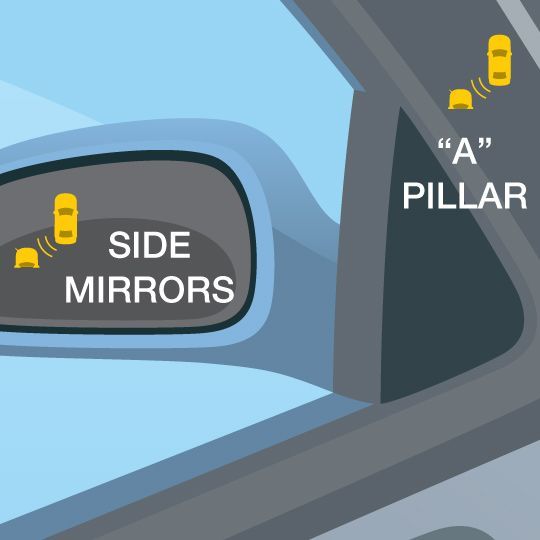
- GPS and Satellite antenna may need to be mounted on the roof and the wiring ran and concealed back to the new car stereo.
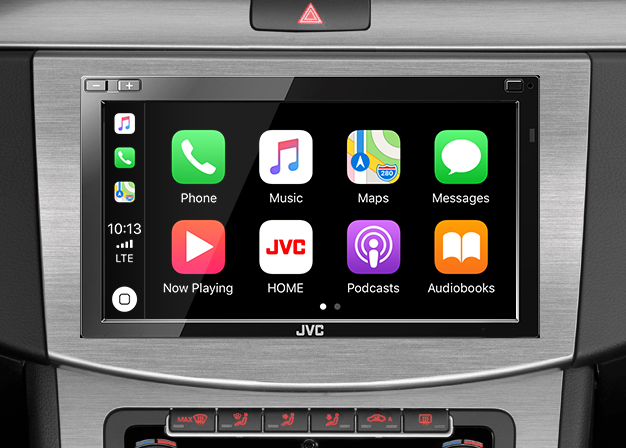
- Parking brake, speed sense and reverse wires might be spliced in too for Apple CarPlay, Android Auto or a navigation unit to function properly.
- A vehicle specific dash kit is usually required to adapt the new stereo to the factory dash. This will provide a factory style look with the new stereo and provide the proper mounting brackets needed for the new stereo.
Of course, if you can’t do this yourself you can reach out to our experienced and expert technicians here at Top Edge.